If BallistiX did not dry properly or you are not pleased with the end result there are a number of steps in which you can follow to remediate the countertop and get ready for a reapplication of the BallistiX product.
When using BallsitiX it is suggested that if going over countertop / focal applications to use the Counter Attack or Counter Attack + product.
NOTES: When using BallsitiX it is suggested that if going over countertop / focal applications to use the Counter Attack or Counter Attack + product. These products are much easier to work with and have been designed for focal applications. If you use another product over a countertop please understand that there can be issues with drying, thickness, etc. as they are a bit tricker to work with in focal applications
If under 24 Hours and product is not cured!
- Step 1. Iso wipe the coat of BallistiX away. Wait for the substrate to dry
- Step 2. Reapplication can begin.
If outside 24 Hours and product is dry!
- Step 1. Wait 6 days for the product to fully cure. You can not remediate before 6 days once the product has dried as it is still curing.
- Step 2. Use an orbital sander to knock the sheen down evenly. You will want to work up to a 320 grit finish before reapplication. Start with less aggressive approach and work way up. Ie. start with 80/100 grit, then 150, then 220, then 320. This is just an example. It is on the applicator to understand when the surface has been reprepped for application.
- Step 3. Ensure there are no scratch patterns visible
- Step 4. Iso wipe with Iso 99 alcohol
- Step 5. Reapplication can begin.
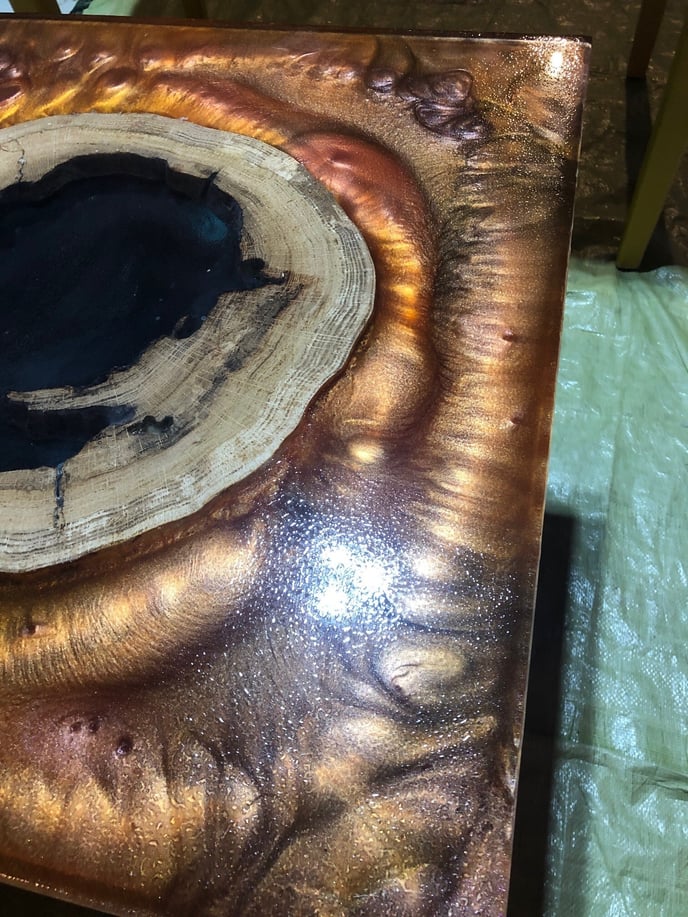
Here are some examples of failed BallistiX applications.
Uncured/bubbled product